Going ‘back to basics’ with jewellery design doesn’t actually mean creating a piece that looks amateurish or simplistic. Far from it. When you’re working with Czech glass beads, which are vibrant and striking in their own right, it’s often the purest designs which allow the intricacies of the beads to sing the loudest.
Simply the best
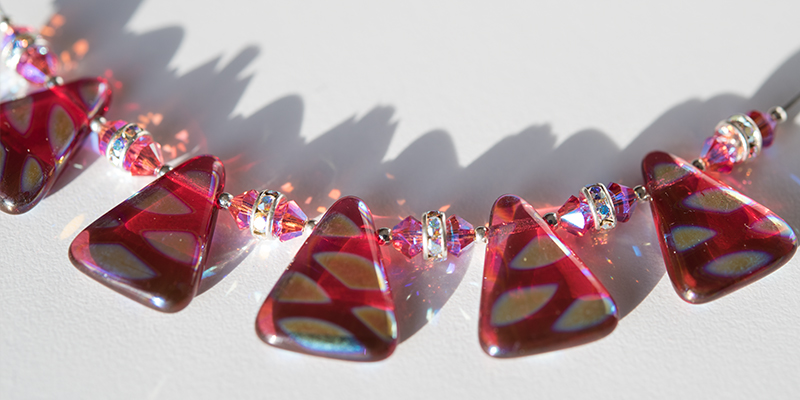
This month, we have put together a three-step guide to creating this beautiful triangle drop necklace, which uses only the simplest techniques suitable for jewellery-making beginners. What is so lovely about this project is that despite how easy the necklace is to create, the end result is a sophisticated and charming piece of jewellery which could easily be worn over an evening dress or for a special occasion.
We have also created a quick video at the end of the article, to talk you through the techniques described below.
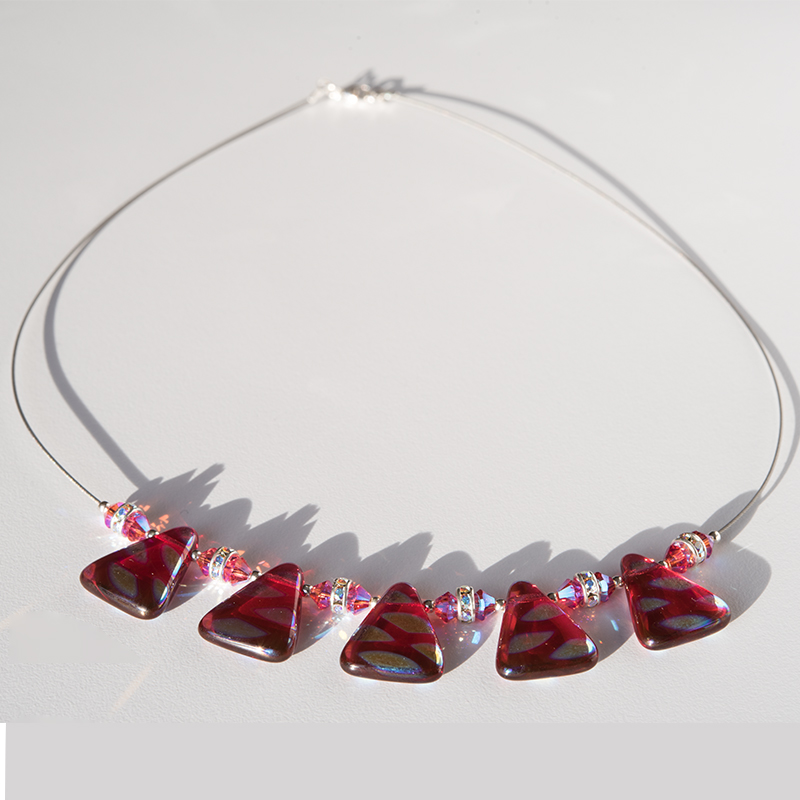
Create your own version of this gorgeous triangle drop necklace.
Step 1 - Design
I know we always bang on about it, but before you start any jewellery project, you need to have a design, or at least an inspiration, in mind.
For this project, and given that the 14th of February is almost upon us (it’s not too late to order your loved one a fabulous jewellery kit for their special day – hint hint!!), we’ve taken the deep fuchsia pinks and reds of Valentine’s Day to drive our design choices.
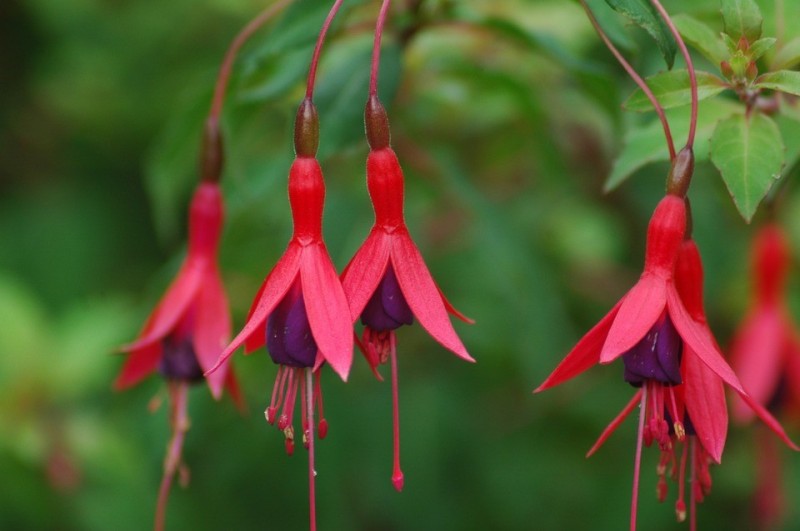 Fuchsia pink for St. Valentine
You could always substitute the bold colours in our design for the yellowy hues of spring daffodils and Winter Jasmine, for example; especially as we have this gorgeous, Wild Primrose Peacock matt triangle glass bead

Winter Jasmine - Jasminum nudiflorum
With your inspiration in mind, you then need to decide on your three essential design elements:
Feature beads
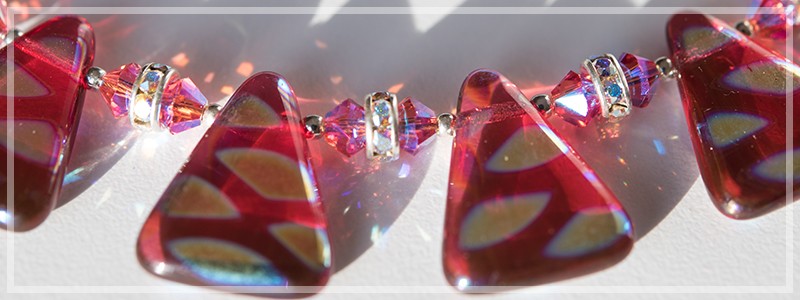
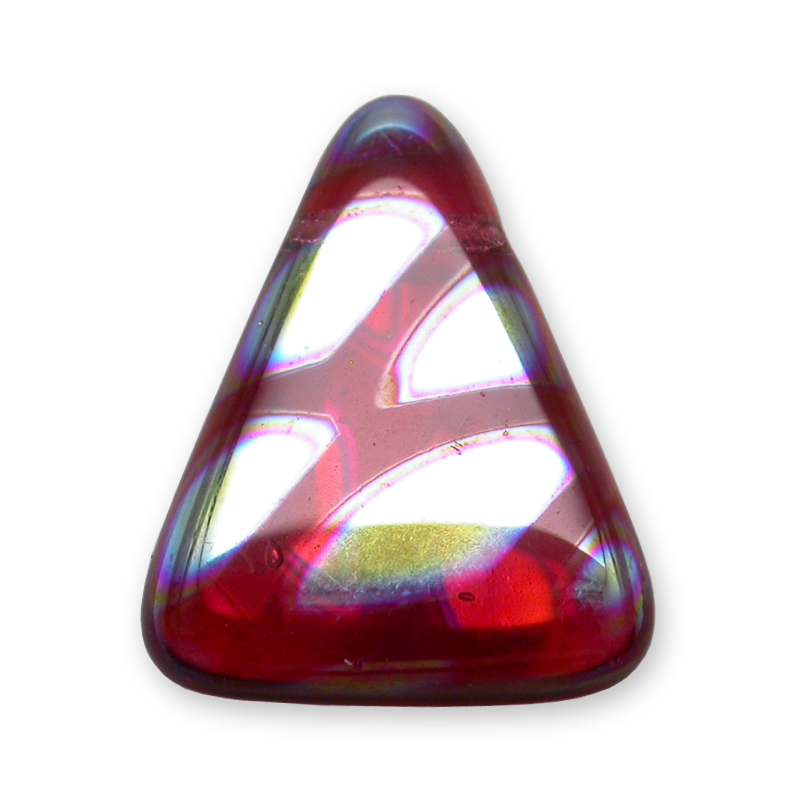
We fell in love with these fuchsia pink triangle drop beads the minute we saw them. These dramatic 15x19mm Czech glass beads are infused with gold pigment and treated with a metallic ‘aurora borealis’ (AB) coating to achieve their distinct peacock effect. These luminescent beads give the necklace its striking character, but if you wanted to achieve a different look, browse through our fantastic library of Czech beads for more inspiration.
Spacer beads
Spacer beads are a vital component of any necklace and are the rich backing vocals to your feature beads’ flamboyant solo.
You can use spacer beads to complement and tone-in with your feature beads, or, for a bolder statement piece, they can be used to contrast and juxtapose (see our previous blog ‘Exploring colour in jewellery design’).
In this design, we have chosen shades of harmonising pink for our spacers, specifically, a vibrant Indian pink Swarovski® crystal bead and a rainbow-coated crystal Rondelle.
These vibrant crystal spacer beads are the perfect complement to the dramatic Czech feature beads.
Cable and clasp
We chose a 49 strand 0.6mm stainless steel cable and sterling silver necklace findings. These highly flexible cables and delicate sterling silver necklace findings are exposed at the top half of our design to direct the focus towards the beaded section at the bottom. This helps us achieve the stylish, minimalistic look we are after.
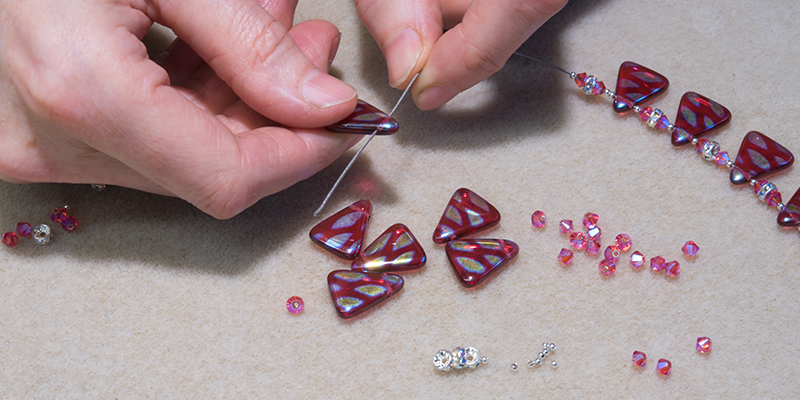
Step 2 – Bead stringing
Once you have decided on your bead design, the stringing is the easy part!
We do recommend you use the correct tools to help you grasp the cable as you thread your beads. Also, pay attention to the order in which your beads need to be strung so that you don’t miss or muddle key elements and have to re-do sections of your work.
Step 3 – Attaching the clasp
This is probably the trickiest part of the process, and does require a bit of dexterity and patience to master. We recommend you use chain nose pliers to help you achieve the best results. The basic steps are as follows our video explains the process in more detail:
1. Slide each of your raw cable ends into your end fittings.
2. Use pliers to loosely tighten the end fittings around your cable.
3. Adjust the cable position within the fittings as required and then fix the fittings firmly in place with your pliers.
4. At the ‘clasp end’ of your necklace, open up a small jump ring with your pliers and slide it onto your end fitting.
5. Now add your catch into the open jump ring as well.
6. Close the jump ring using pliers. Your clasp is now secured to your end fitting.
7. At the ‘ring end’ of your necklace, open up a large jump ring and slide it onto your end fitting.
8. Close the large jump ring using pliers. This now becomes the ring into which your clasp will fasten to secure your necklace for wearing.
Over to you!
If you would like to try your hand at creating our gorgeous fuchsia pink triangle drop necklace or alternatively, if you would like to choose your own feature beads and spacers to create a necklace of your own design, you can use the links above to browse our bead sections, and can purchase your starter necklace findings kit (ie. cable, clasps, jump rings and end fittings) here
About Boundless Beads
Established in 1992, we are a UK-based, family-run business. We supply exquisite artisan beads and beautiful hand-crafted jewellery elements to the hobbyist market and to wholesale partners up and down the country.
We are privileged to work closely with some of the industry’s best glassworkers and bead-makers, many of whom hail from the world-renowned Bohemian dynasties of the Czech Republic. Many of the beads we sell are entirely unique to our collections and can be found no-where else in the marketplace. Please visit us at www.boundlessbeads.com